How to Create a Timeline for Your Wedding Day
One of the best gifts you can give yourself (and your vendors) on your wedding day is a well-built timeline. A thoughtful schedule helps everything feel calm and intentional, even when the day is packed with excitement. And as a bonus? A great timeline creates space for the moments you’ll want to remember most: private exchanges, happy tears, and those “wow” portraits that look effortless (because you had time for them).
Below is a step-by-step guide to creating a wedding day timeline that actually works—plus a sample timeline you can customize.
Step 1: Start with the “non-negotiables”
Before you add any details, list the parts of your day that have fixed start times or can’t be moved easily. These usually include:
Ceremony start time (and end time)
Reception start time (and venue end time)
Hair and makeup start time (often based on how many services are booked)
Transportation pickup times (if you’ve already booked them)
Any religious/cultural ceremony elements with set timing
If you don’t have your ceremony start time locked in yet, choose it first. Everything else will build from that.
Step 2: Build your timeline around light (yes, really)
Lighting impacts your photos more than almost anything else. If you want that soft, glowy look, plan time for portraits when the light is best.
Two key photography-friendly windows:
Earlier in the day (before the sun is harsh, depending on season)
Golden hour (the last hour-ish before sunset)
If you’re not sure when golden hour is for your date, your photographer can help you plan for it. Even 15–20 minutes at golden hour can make a huge difference.
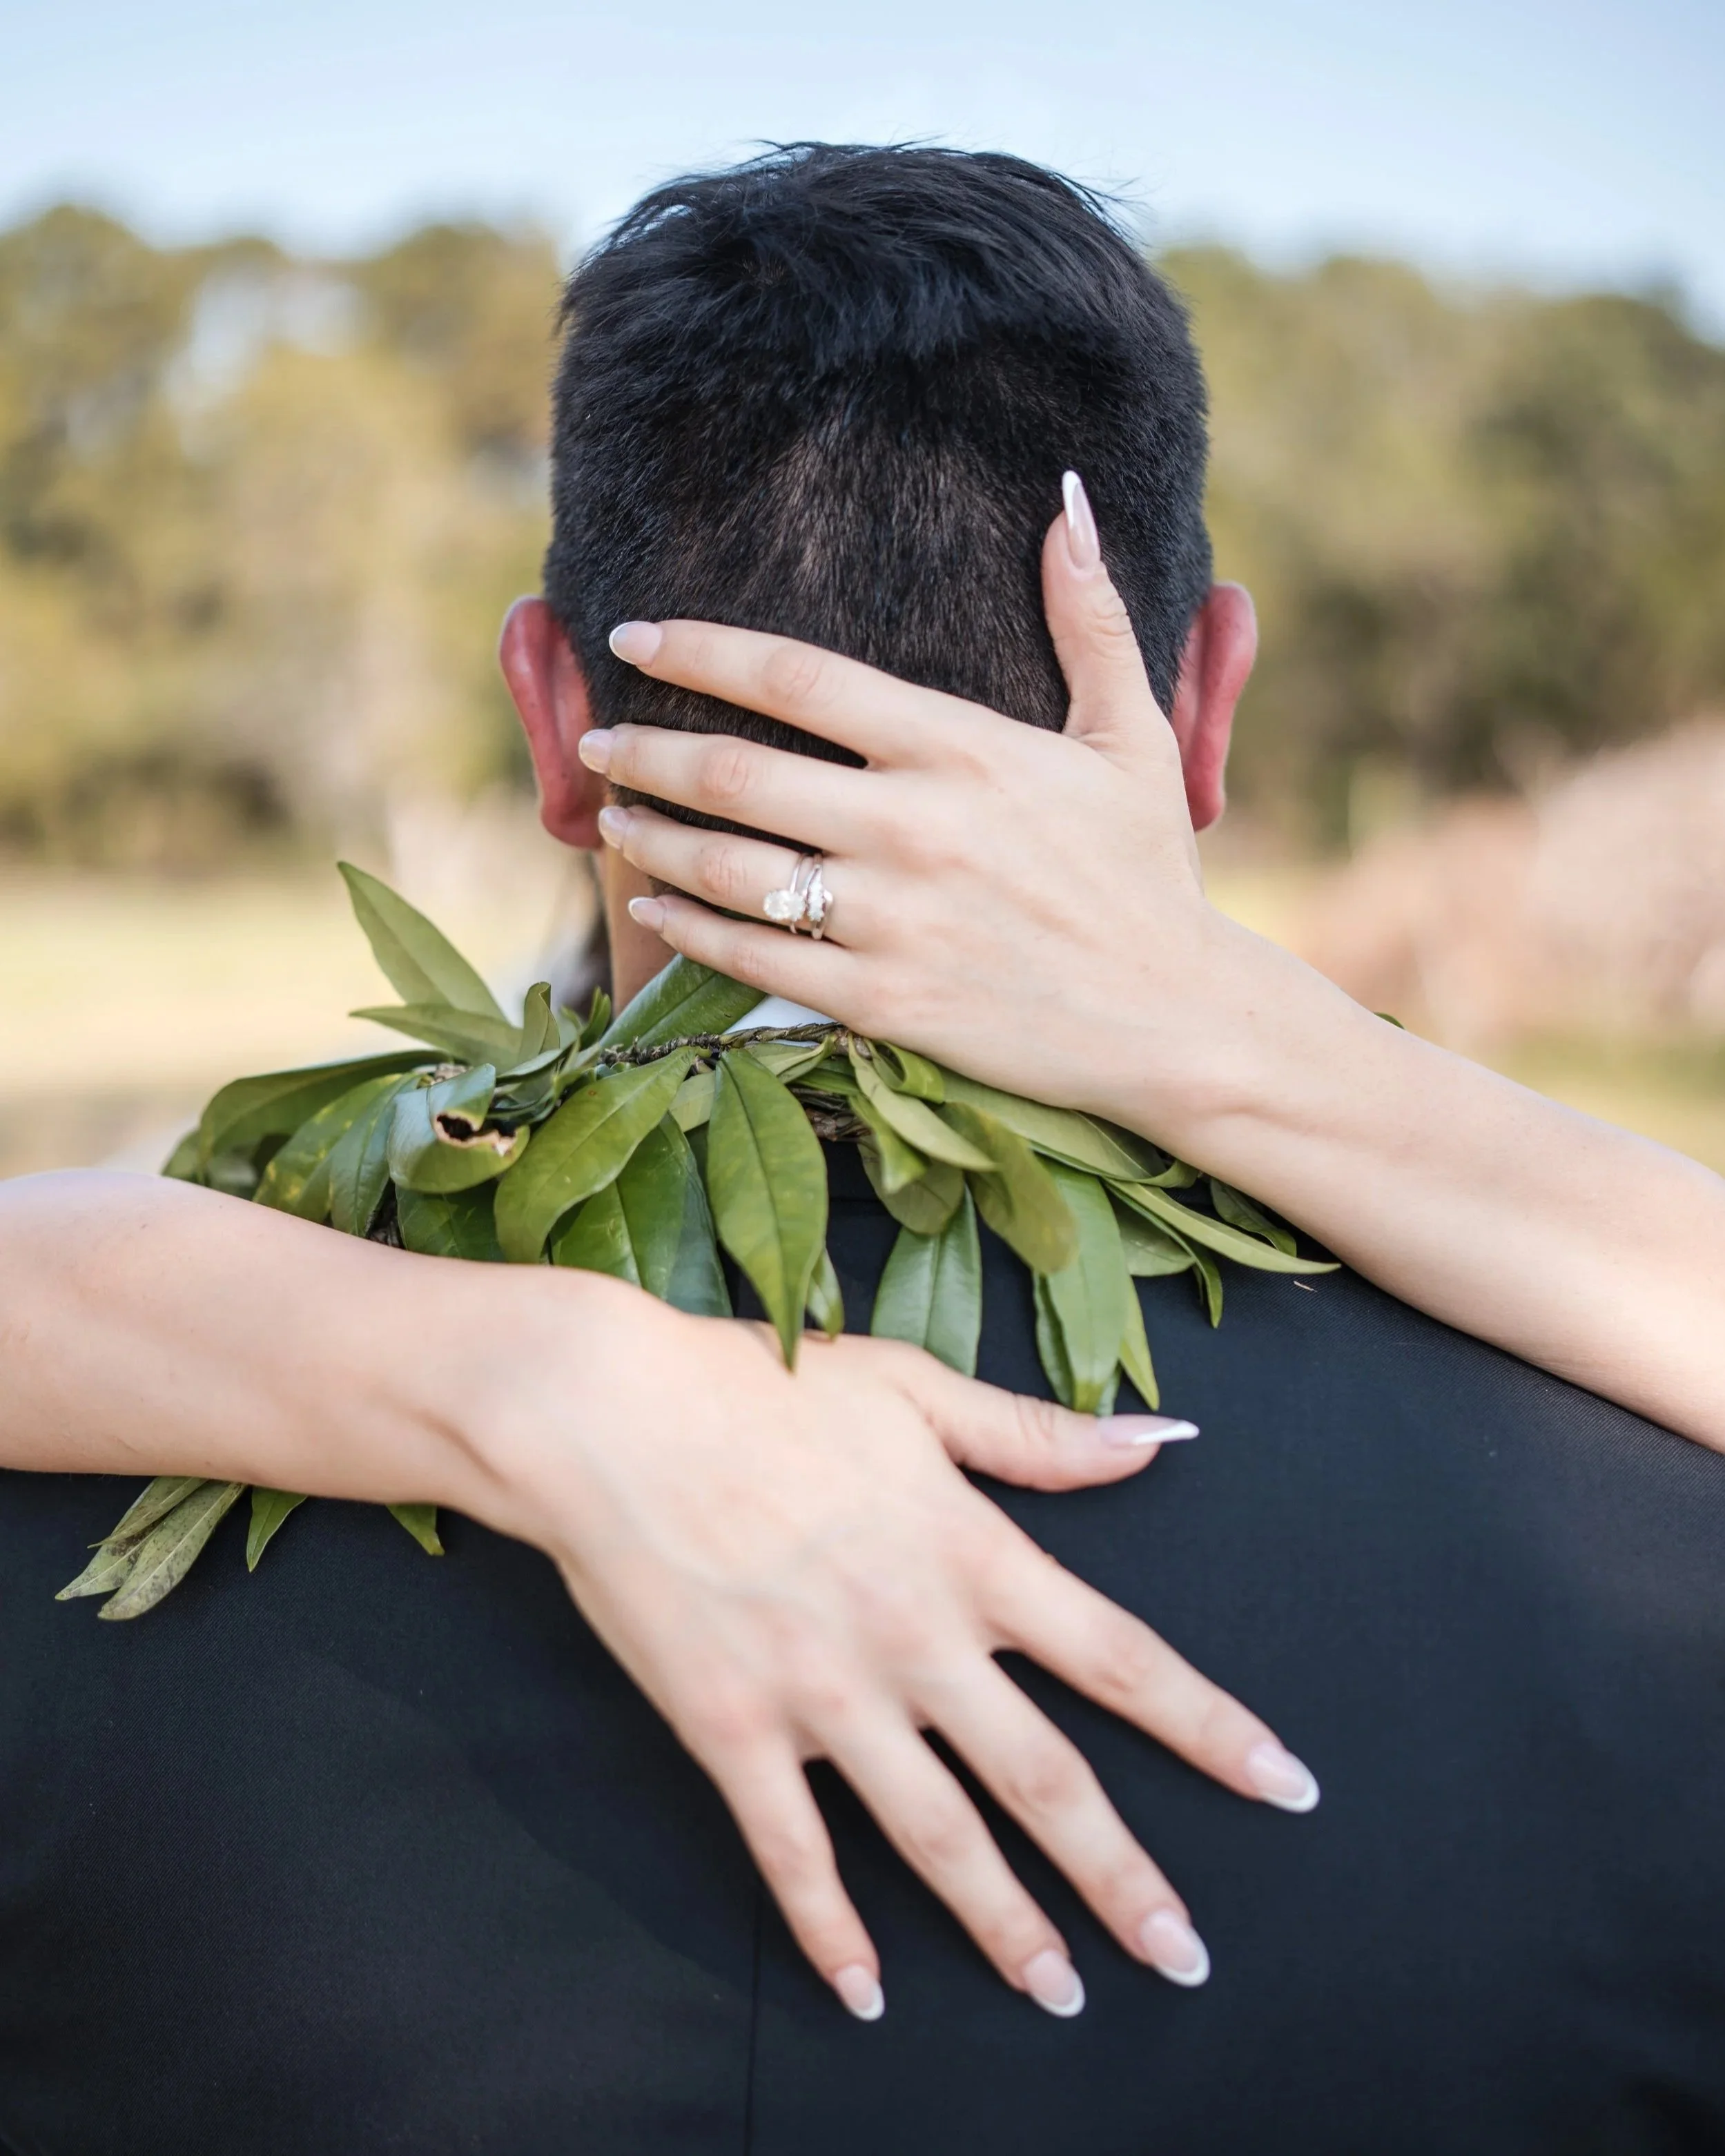
Step 3: Decide if you’re doing a First Look
This choice affects your entire schedule.
If you do a First Look:
You can take most portraits (couple, wedding party, sometimes even family) before the ceremony. This often means:
More time together
A more relaxed cocktail hour
Fewer rushed photos after the ceremony
If you skip the First Look:
Plan for a bigger photo block after the ceremony. This can work beautifully too, just make sure you protect that time and add buffers for travel and guest greetings.
Step 4: Work backward from the ceremony
Once you know when the ceremony starts, work backward to fill in the earlier part of the day.
Here’s what usually needs time before the ceremony:
Hair + makeup (with buffer)
Getting dressed
Detail photos (dress, rings, invitations, perfume, heirlooms)
First Look (optional)
Wedding party photos
Immediate family photos (optional pre-ceremony)
Travel time to ceremony location (with cushion)
Timeline tip: Add 10–15 minutes of buffer for most transitions. Getting into a dress, pinning boutonnières, loading a bus; these things almost always take longer than you think.
Step 5: Build in “hidden time” you’ll be glad you had
Some moments matter, but don’t always get scheduled unless you intentionally include them:
A quiet 5 minutes alone after the ceremony (seriously—highly recommended)
A snack and water break (especially before portraits)
Private vows or letters
A clean buffer between formal photos and reception entrance
Time to bustle your dress (this is bigger than most people expect)
When couples feel rushed, it’s usually not because the day is “too full.” It’s because the timeline didn’t include breathing room.
Step 6: Coordinate with your vendors (especially photo + video)
Your planner/coordinator, photographer, videographer, and DJ/band all help your day flow. Once you draft a timeline, share it and ask for feedback. A few vendor-driven timing notes that help:
Hair & makeup: Ask your HMUA when the bride should be finished (many prefer the bride goes last).
Florals: Confirm when bouquets/boutonnières arrive. Photos can’t happen without them.
DJ/band: Confirm timing for entrances, first dance, toasts, and special dances.
Catering: Ask how long dinner service will take (it varies a lot).
A wedding day timeline works best when it’s one shared plan everyone is on.

Step 7: Plan your formal photos the smart way
Formal photos can be smooth and fast if you prepare.
Here’s how:
Make a family photo list (groupings you want)
Keep it immediate family first (then extended)
Assign a “family photo helper” who knows who’s who and can call names
Tell everyone in advance when and where family photos happen
Most weddings need 20–40 minutes for family photos, depending on how many groupings you want.
A sample wedding day timeline (5:00 PM ceremony)
Use this as a starting point and adjust for your locations, traditions, and priorities.
11:00 AM – Hair & makeup begins
12:30 PM – Photographer arrives (details + getting ready)
1:15 PM – Getting ready photos (candids, gifts, letters)
1:45 PM – Bride gets into dress / final touches
2:15 PM – Bride portraits / groom finishing touches
2:45 PM – First Look
3:00 PM – Couple portraits
3:30 PM – Wedding party photos
4:00 PM – Immediate family photos (optional pre-ceremony)
4:30 PM – Hide away / freshen up / guests arrive
5:00 PM – Ceremony
5:30 PM – Ceremony ends / congratulations + hugs (buffer!)
5:45 PM – Family photos (if not done earlier)
6:15 PM – Couple portraits (quick set + golden hour if possible)
6:30 PM – Reception opens / grand entrance
6:40 PM – First dance
6:50 PM – Dinner service begins
7:30 PM – Toasts
7:50 PM – Parent dances
8:00 PM – Open dance floor
8:45 PM – Cake cutting / dessert moment
9:30 PM – Late-night photos or private last dance (optional)
10:00 PM – Send-off / exit
Common timeline mistakes (and how to avoid them)
A few things I see throw off wedding days most often:
Not scheduling travel time (or forgetting parking/loading time)
Fix: Add travel + 10 minutes minimum.Overstuffing the portrait portion
Fix: Choose priorities (couple photos, family, wedding party) and build realistic time blocks.Forgetting bustle time
Fix: Reserve 10–15 minutes after portraits or right before reception events.Trying to do too much during cocktail hour
Fix: If photos are happening then, accept you may miss most of cocktail hour or do a First Look.
Final tip:
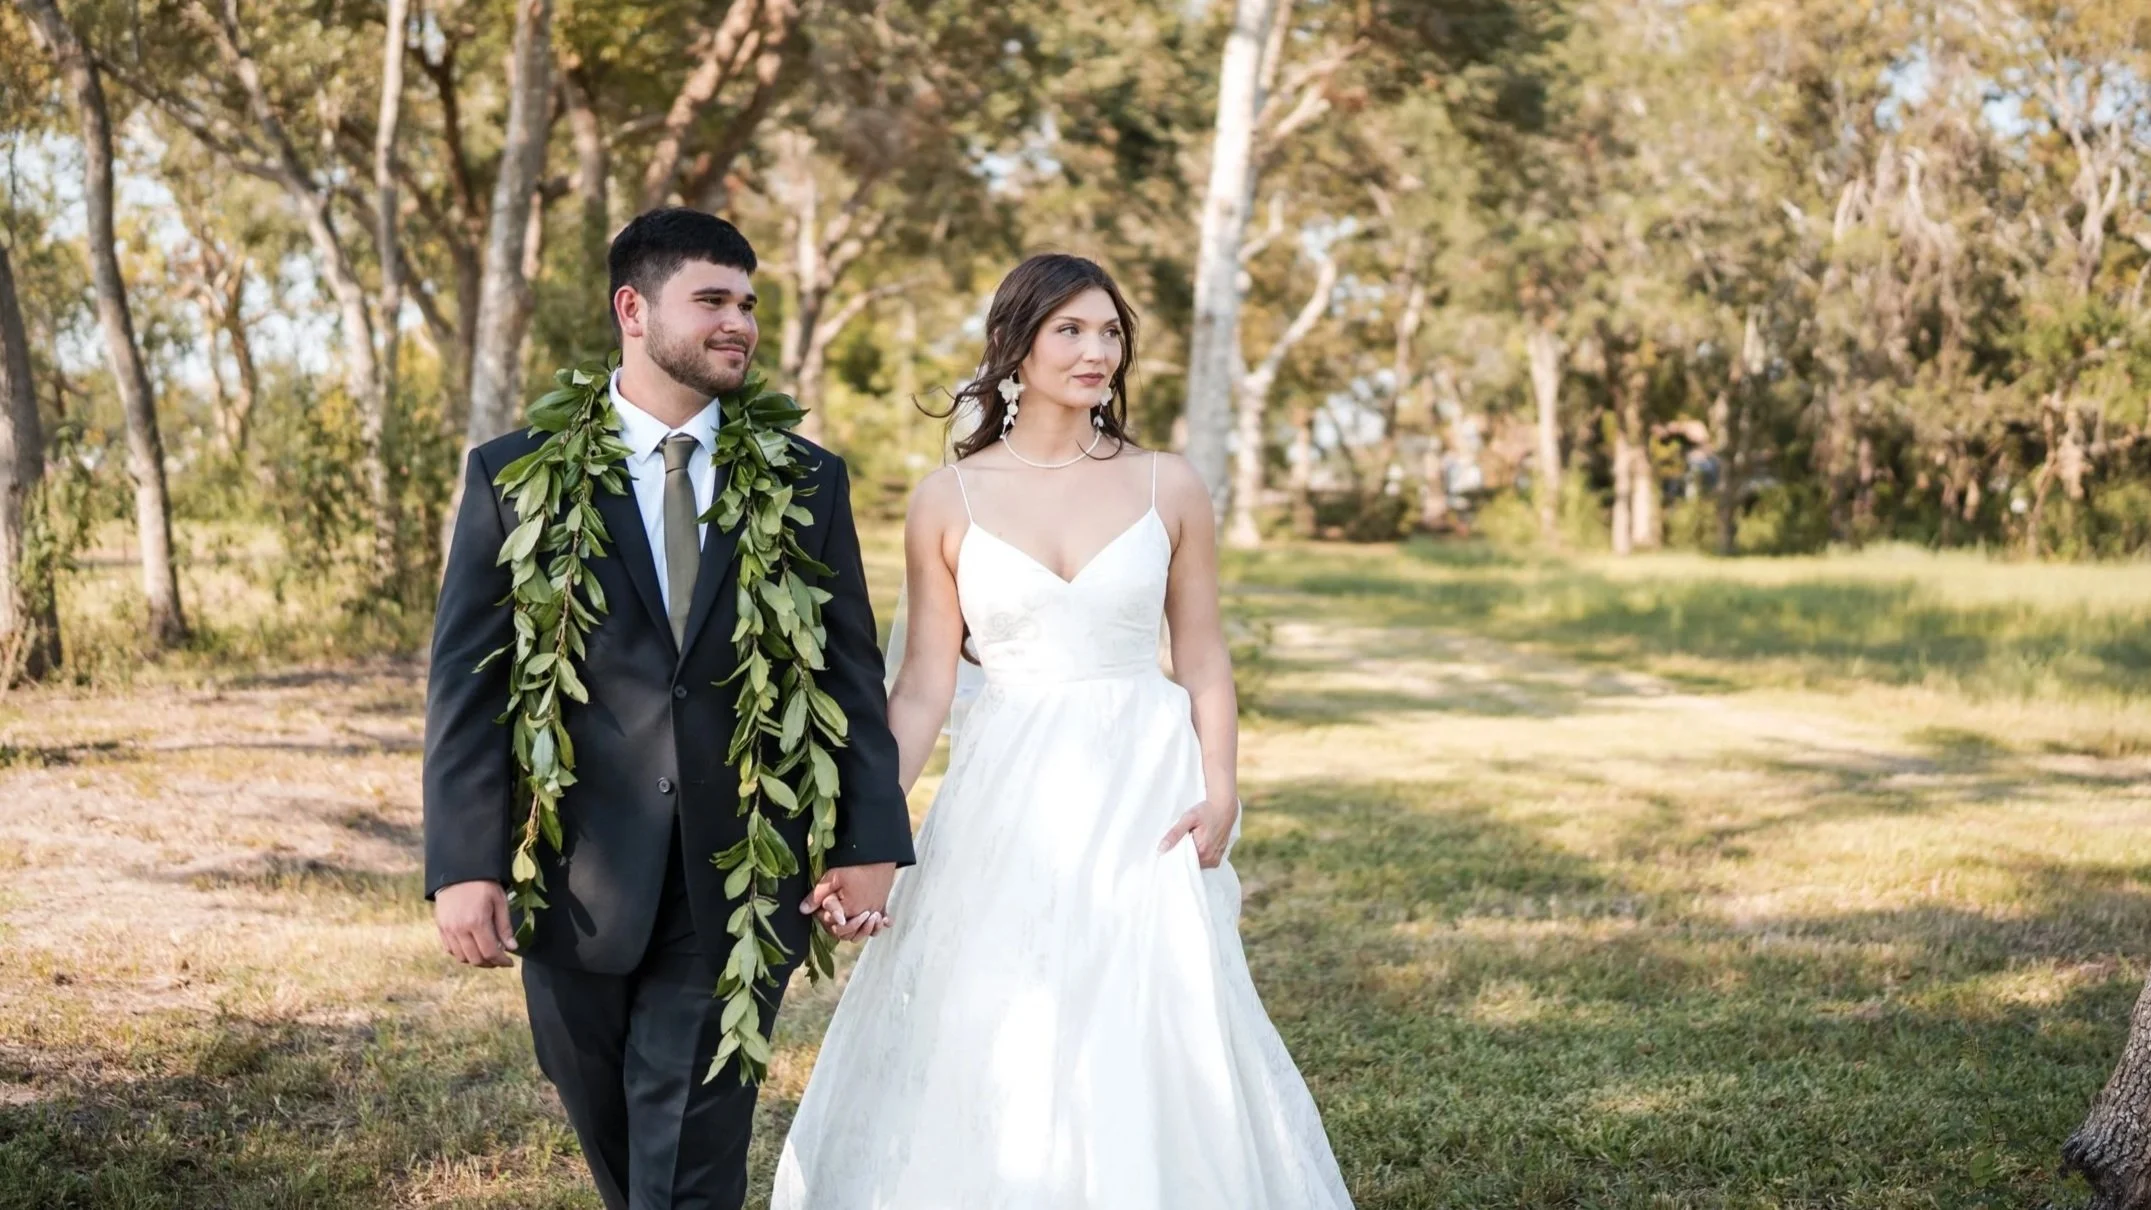
Make the timeline serve you
Your wedding day timeline shouldn’t feel like a strict script. It should feel like a plan that protects what matters. If you want a slow morning, build it in. If you want golden hour portraits, guard that time. If you want to actually enjoy cocktail hour, structure photos earlier.